Household Command Center: A Studio-Notes Guide to Building a Practical Home Hub
Problem
Household paper, schedules, and small essentials often end up scattered: mail on the counter, permission slips in backpacks, keys misplaced, and family members unsure about appointments. That friction increases small daily mistakes and mental load. A compact, visible hub—a household command center—reduces friction by putting frequently needed information and tools in one predictable spot.
Question
How can I design a low-effort, durable command center that fits my home, stays useful, and is easy to maintain?
Principles
The following principles guided the setup in this studio-style test. Use them as rules of thumb rather than strict requirements.
- Visibility: Make the hub easy to scan at a glance. Use a calendar or whiteboard for dates and a clear pocket or slot for urgent paperwork.
- Single-touch workflow: Aim for a one-place decision: when mail arrives, sort it immediately into the command center rather than several surfaces.
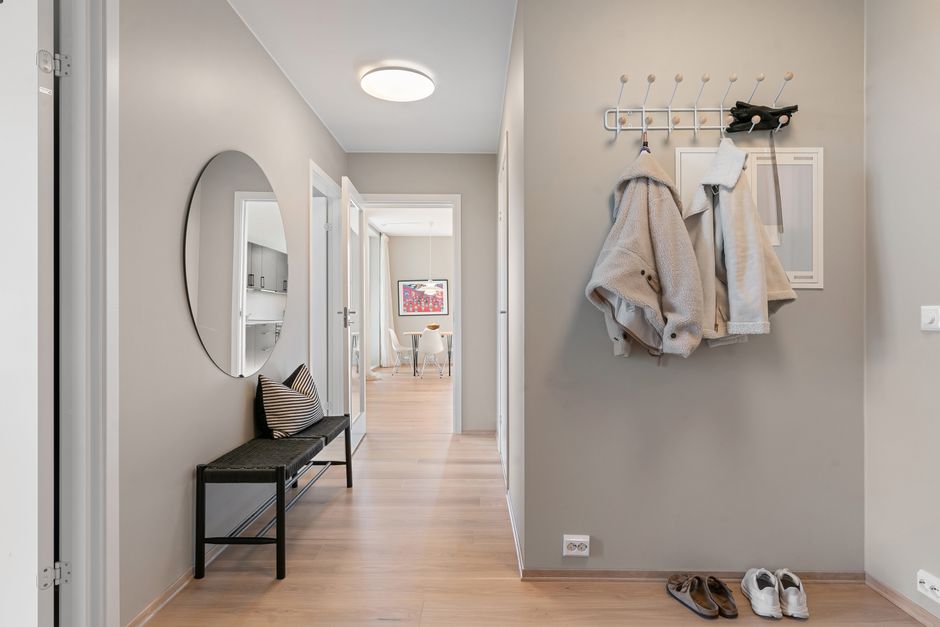
- Accessibility: Place the hub where household members naturally pass—near an entry, next to the kitchen, or by the stairs.
- Category zones: Divide the hub into clear zones: incoming items, action items, reference, and outgoing items.
- Minimal tools: Keep only the essentials (calendar, pen, clip, mail sorter). Extra complexity reduces use.
- Maintenance ritual: Build a short weekly review—five minutes to clear the action tray and update the calendar.
Process
Designing the hub follows a short iterative process: assess, choose a location, create zones, add anchors, test for a week, then adjust.
- Assess needs: Note the most frequent items that cause friction: bills, school notices, keys, grocery lists, appointment reminders.
- Select a location: Choose a spot with high traffic but low clutter risk—an empty wall, a shallow niche, or the side of a pantry door.
- Create zones:
- Incoming: a slot or shallow basket for new mail and flyers.
- Action: a visible clip or tray labeled “To Do” for things that need attention this week.
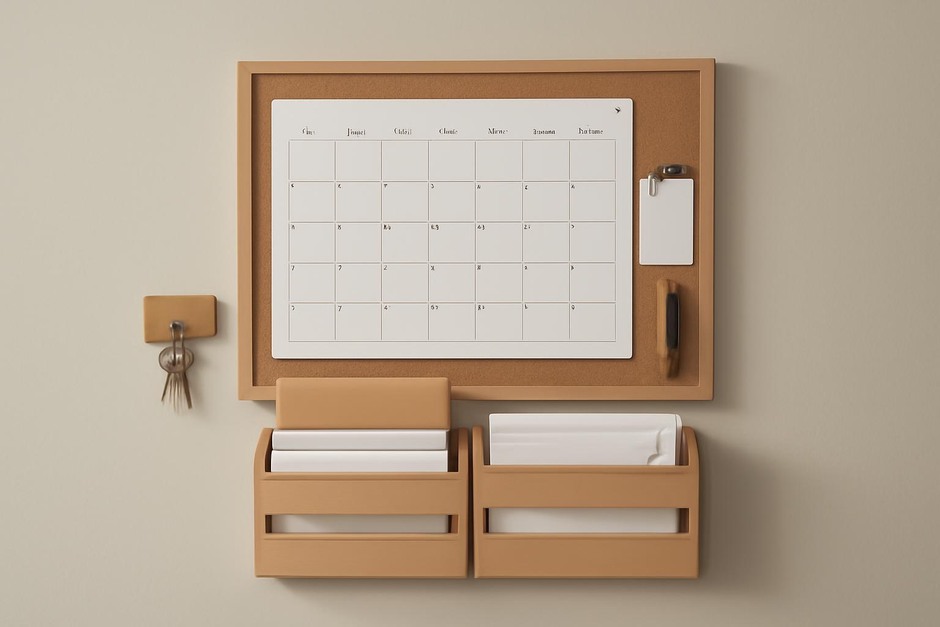
- Reference: a calendar or monthly grid and a small corkboard or list with key information (Wi-Fi password, regular pickup days).
- Outgoing: a place for items leaving the house (library books, packed lunches).
- Add anchors: Mount a wall calendar or magnetic whiteboard, install a slim mail sorter, attach hooks for keys, and keep a pen tethered with a cord.
- Test and iterate: Use the setup for seven days. Observe points of failure—items piling up, confusion about where to put things—and adjust zones or labels.
Examples
Here are three practical layouts that work for different homes and household sizes. Each example follows the same principles but adapts to space.
1. Minimal Wall-Mounted Hub (Small Home)
- Use a slim magnetic calendar and a three-pocket mail sorter. Mount a small shelf for keys and a cup for pens.
- Keep a single magnetic clip labeled “This Week” for urgent papers.
- Why it works: low footprint, quick visual scan, minimal maintenance.
2. Family Kitchen Command Center (Busy Household)
- Combine a large monthly calendar, a whiteboard for meal plans, a labeled mail sorter (Bills / School / Records), and a basket for backpacks/permission slips.
- Install hooks for backpacks and a small basket near the outgoing door for items leaving the house.
- Why it works: separate zones reduce cross-traffic mistakes and give each family member a predictable place for their items.
3. Apartment Door-Back Command Center (No Wall Space)
- Attach an over-the-door organizer with pockets for mail, a slim clipboard for a weekly list, and adhesive hooks for keys.
- Keep a small notepad for the grocery list and a pouch for receipts.
- Why it works: uses vertical space without permanent fixtures and keeps essentials near the exit.
Review
After a short trial, most helpful changes are small: move the action clip to eye level, swap a basket for a shallow tray to avoid buried items, or add a simple label system so everyone knows where to put things. The largest gains come from behavior nudges—agreeing on a 60-second rule to sort mail immediately and a weekly five-minute tidy.
Practice Checklist
- Choose a high-traffic, low-clutter location.
- Decide on four zones: Incoming, Action, Reference, Outgoing.
- Install anchors: calendar/whiteboard, mail sorter, hooks, pen holder.
- Create simple labels for each zone and a visible “This Week” clip.
- Set two habits: sort mail on arrival; perform a five-minute weekly review.
- Test for one week and adjust placement or labels as needed.
Small, deliberate choices—consistent placement, clear zones, and tiny maintenance rituals—are what make a command center stick. Treat the first setup as a prototype: refine it until the hub feels like a natural part of daily flow.